Honda Africa Twin – Easy Side and Front Fairing and Headlight Shroud Removal
I find myself often needing a quick reference for removing the front fairing, side plastics, and headlight shroud from my 2017 Honda Africa Twin. While there are a few other youtube videos that explain how to remove the plastics and fairings, they are long and boring. I just wanted the highlights. So I made my own. Below is a 4-minute quick reference, providing all the information needed to remove the side and front plastic fairings and headlight shroud on the Honda Africa Twin.
Tools Required for Removing the Fairings and:
- Various allen/hex keys – 3mm, 4mm, 5mm
- Pick or very small Philips head screw driver to pop the push rivets
Basic Procedure: Side Fairings / Plastics Removal:
- Remove the fork dam (if you have one)
- Remove the seat using the motorcycle key
- Remove the thin dark colored side plastics using a 5 mm allen key (4 total. 2 each side) + the velcro attachment (4 total. 2 each side)
- Remove the 5mm bolts at the front of the bike near the instrument cluster. (2 total, 1 each side)
- Remove two push pins on either side of the fork tunnel (4 total, 2 each side)
- Under the fork near the radiator remove three push pins on each side (6 total, 3 each side)
- Under the headlight, remove two push pins, one on each side.
- Inside the fork tunnel, facing backwards, remove one push pin. (2 total, 1 each side)
- So that’s a total of 10 push pins removed around the fairings and fork tunnel area
- Pull the fairings away from the bike by working around each edge, applying firm but light pressure, and pulling the tabs away from the motorcycle body
Basic Procedure: Headlight Shroud Removal:
- Remove the windscreen by removing the four 3mm bolts. BE VERY CAREFUL removing these bolts as they are only held in by rubber expansion grommets and can easily be pushed inside the shroud. YOU DO NOT WANT TO HAVE THIS HAPPEN WHEN YOU ARE REASSEMBLING.
- Remove the blinkers by removing the two bolts and one push pin on each side. The bolts are 5mm. (4 bolts and 2 push pins total, 2 bolts and 1 push pin each side)
- Then the blinker assembly slides up and off.
- Remove the remaining six bolts holding the headlight shroud. These are 5mm hex bolts. There are two on each side towards the top and one on each side on the bottom. (6 total, 2 high on each side, 1 low on each side)
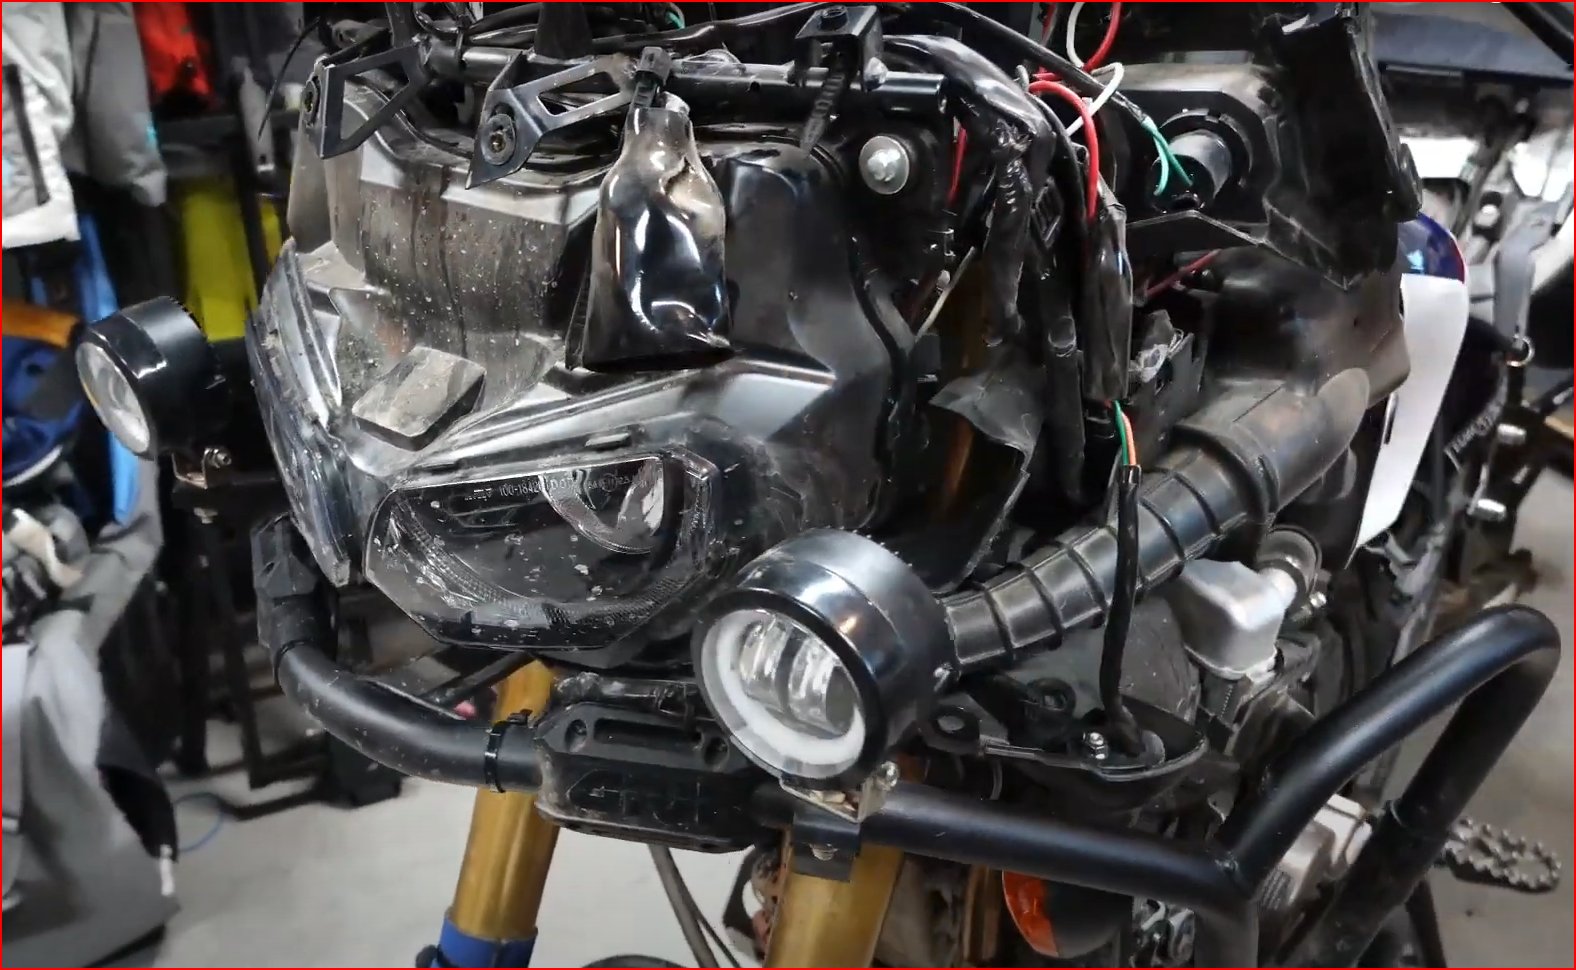
- Once all the bolts are out the shroud can be pulled away from the frame. Again just work around the edges, applying light pressure, to carefully pull the tabs free.
That’s it!


