Accessory Wiring for the Honda Africa Twin | Part 1
Summary (TL:DR)
To get switched power to accessories controlled by the key/ignition, I highly recommend the kit from Eastern Beaver. I opted for the 3 circuit solution (3CS), but they offer an 8-circuit version as well. Wiring the 3CS to the Africa Twin battery is kinda award, given the tiny battery compartment, but doable. I attached directly to the battery with the positive terminal and then used the common ground to frame bolt for the negative, since it was easier to access.
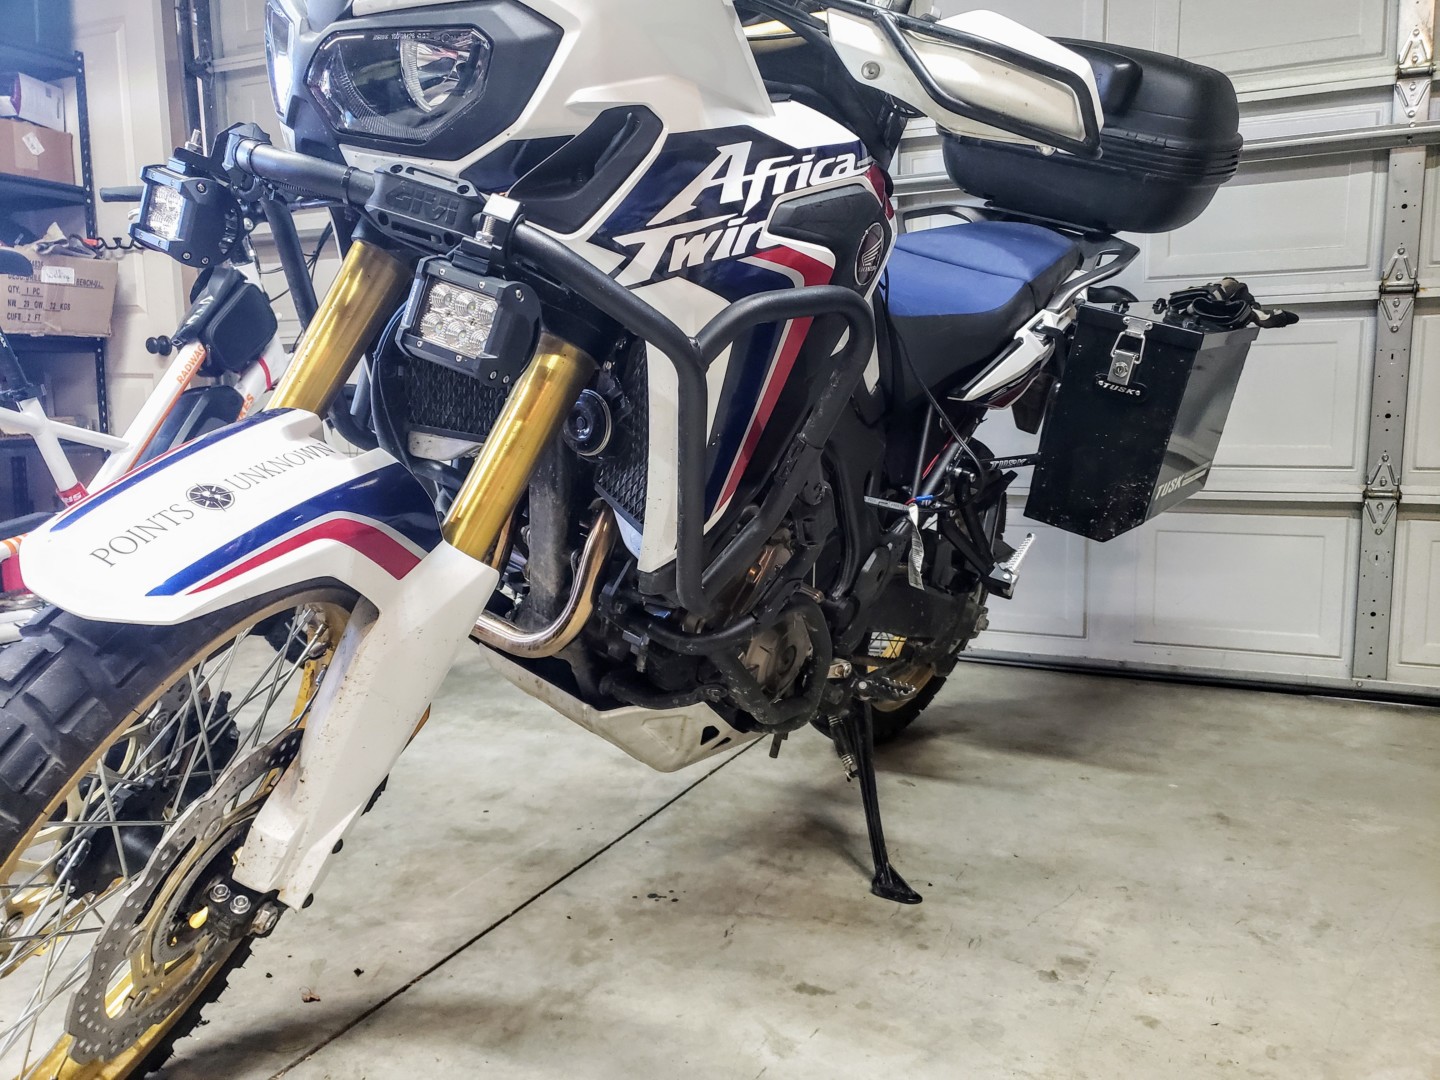
This post covers basic wiring strategies for powering various accessories for the Honda Africa Twin (AT). Given I am doing this on my 2017 manual model, it is most applicable to that version – but likely relevant to other years and versions as well.

I don’t have too many powered accessories, but following powered items are pretty critical to my riding experience:
- Cigarette Lighter or USB charger (or both)
- Heated grips
- Auxiliary Lights
The cigarette lighter, heated grips, and auxiliary lights want to be switched by the ignition, to avoid accidentally leaving anything on and draining the battery. In the event that the battery does slowly drain (and to maintain it) I also use a battery tender on all my bikes – especially over the winter when they don’t get ridden as much.
Wiring the Battery Tender

Wiring the battery tender is pretty straightforward and standalone – since I want to be able to charge the battery regardless of key position. So the fused battery tender harness just gets wired direct to the battery.

The SAE quick connector / plug also creates a great power port for other items that I am not worried about leaving on (like heated gear, that’s attached to me and thus comes off the bike when I do). I have always just run a Battery Tender Junior, though there are a variety of options and sizes available, depending on your needs. And of course if your bike as a lithium battery, the battery tender should be specifically labeled for compatibility – like this one.
Ignition Switched Accessory Power
Eastern Beaver is definitely the go to company for accessory power units. I searched around for alternatives – and there really isn’t much. Plus Eastern Beaver makes kits especially for the Africa Twin! Yes, shipping does take a bit longer, since its coming from Japan – but its worth it. Also, highly recommend paying the extra $$ for the expedited/tracked shipping. I was cheap and patient the first time, but after 2 months concluded that it got lost in the mail. Go for the tracking.
I ordered the 3 Circuit Solution (3CS) because, per the list above, I really don’t have that many accessories to power. This kit is great because it has everything you need to wire it up and connects directly to the auxiliary plug underneath the pillion seat on the AT. Installation really couldn’t be easier. The hardest part is getting at the battery terminals.

To get to the battery, first remove the “tool box”. This requires removing two 4mm hex bolts, below the seat on the left side of the bike. The third attachment point for the metal frame that holds the tool box in is just a little hook that you detach by pressing the metal frame “in” towards the bike. Once that’s off, open the battery compartment by lifting the plastic tab at the bottom of the battery door.
Pulling up another plastic tab at the bottom of the battery compartment allows the battery to be slide out from the compartment. This gives you access to both the positive and negative terminals. However, I found accessing the negative terminal still quite difficult (without taking everything apart).
I threaded the 3CS kit battery connection terminals along the left side of the bikes frame, somewhat underneath and somewhat beside the gas tank. From there they line up well for entry into the battery compartment.


I attached to the positive terminal of the battery directly – but for better future access to the grounding (negative) terminal, I attached to the common frame grounding bolt which I feel is more easily accessible and facilitates easier wire routing.

The switching connector on the 3CS wiring harness connects directly to the OEM accessory connector located underneath the pillion seat. To get at that, remove the seat, then remove the pillion seat using a 10mm socket wrench. The OEM accessory harness is located on the left side of the bike, right along the frame rail. It’s kinda wedged in there between some other electronics, but you just have to unplug itself from its cap to get out of there.


Unfortunately, the 3CS plug doesn’t fit through the ports going back under the pillion seat, so you have to thread the OEM accessory port back that direction. However, once you get it wiggled through there, its easy enough to attach it to the plug on the 3CS – perfect fit.
With power provided to both the fuse blocks and the relay, all that’s left to do with the 3CS is position it on the bike. I used double sided tape to stick it to the plastic in the middle of the under-seat area. This seemed a good central location making it easier to access the fuses in the future.


From there the next step is to connect the 3CS to your accessories. Best of all, it comes with waterproof connectors to wire in your accessories. Parts 2 and 3 will cover specific accessory wiring for lights and heated grips! COMING SOON!


I am have a 2019 Honda Africa Twin (non-DCT) and am trying to find an ignition positive under the seat or tap in to the OEM aux connector under the seat. Please let me know if you would be able to help.
Thanks in advance!
Yes. See photos above. The OEM accessory harness is located under the passenger/pillion seat on the left side of the bike, right along the frame rail. Look at photos above and callout with label “OEM Cap” – that’s the connector.
It’s a 6 pole connector with only 4 wires going into it:
1. Red/White –> Battery Power (always on)
2. Red/Yellow –> Switched/ignition power (on when bike running)
3. Green –> Ground
4. Yellow –> Activates turn signals
I believe it’s a Sumitomo HM090 sealed 6 pin connector.
This write-up might also be helpful for you: https://www.xrv.org.uk/threads/crf1000l-diy-auxiliary-fuse-box.162057/