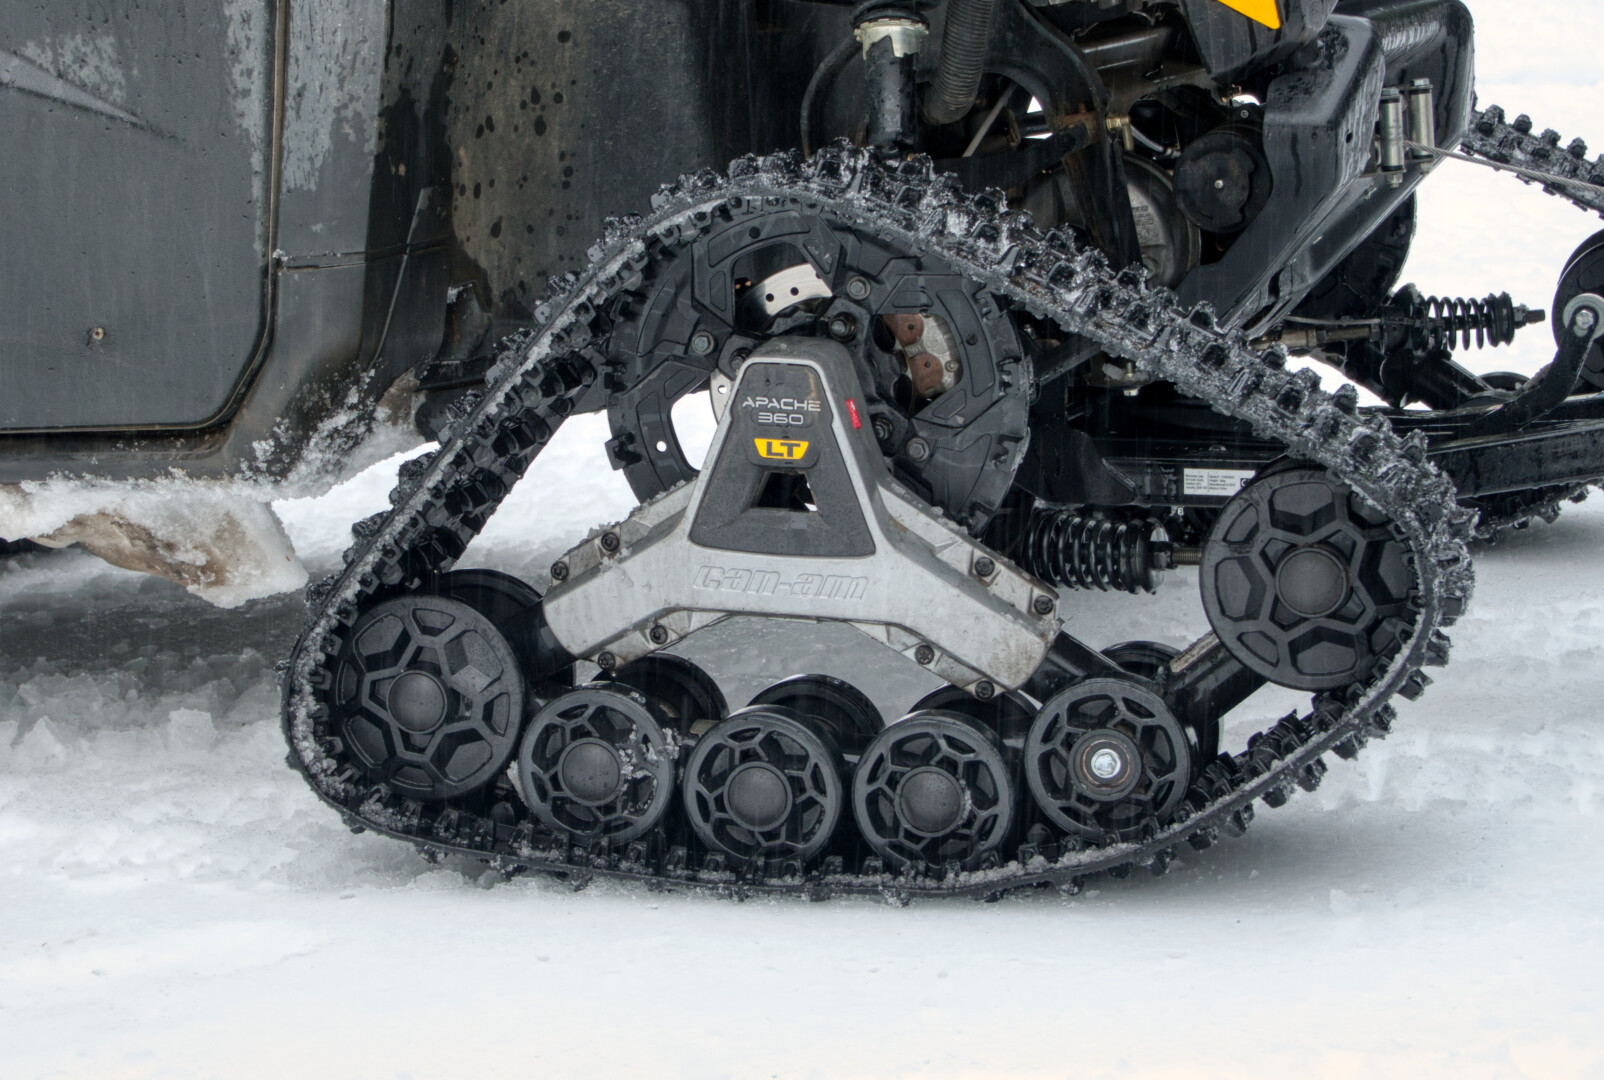
Installing Apache 360 LT Tracks on a Can-Am Defender UTV
A side by side is arguably essentially equipment around the farm, right up there with a tractor. But when deep, wet winter snows come to the pacific northwest, four wheel drive alone isn’t going to cut it. Adding all terrain tracks to the Can-Am Defender UTV makes it pretty unstoppable, whether it be deep snow or mud. And while installation of the off-road tracks is pretty straightforward. There are some tricks to getting it done easily.
Installation Overview
The below video provides a summary of the installation of the Apache 360 LT Track system on the Can-Am Defender.
Tools required:
- 2 x 14mm wrenches (one can be a socket)
- 2 x 15mm wrenches (one can be a socket)
- 17mm deep socket (or lug wrench)
- 2 x 18mm wrenches (one can be a socket)
- T-25 bit
- 8mm wrench
The Procedure
Front Tracks:
- First, break the lug nuts loose on the two front wheels. For safety, do this while the front wheels are still on the ground. The lug nuts take a 17mm socket.
- Next, jack up the front of the side by side. I lake to lift both front wheels up at the same time, from the center of the vehicle. This gives more room for access to the lower control arms and attaching the anti-rotation assembly.
- Remove one of the front wheels. Then remove the drive boot protector using a T-25 torx bit and 8mm wrench.
- The tracks I have include a handy sticker indicating the placement of each track.
- Remove the stored hardware and brackets from the tracks anti-rotation assembly. I’ve found that having the outer bolt pre-installed on the bottom of the assembly makes for the easiest installation.
- Then wrestle the track it into position. Aligning the hub into a perfect cross, with opposite lug bolts directly horizontal or vertical from eachother, allows you to access all four lug nut placements, with one of the lug nuts being accessed through the center of the track. Lightly tighten each lug nut with a 17mm deep socket.
- I use silver antiseize on every nut and bolt use during install of the tracks. This makes for much easier dissassembly come spring time.
- Attach the anti-rotation assembly by first placing the two inner bolts thorugh the lower control arm and affixing the top plate. Lightly thread the nuts on the bolts, but leave plenty of slack for adjustment.
- The outer bolt on the front anti-rotation assembly is the most difficult part of this install. I have had the best luck threading the bolt into its mounting hole to be just flush with the top of the control arm. Then I place the nut on top of the control arm and carefully thread it on by rotating the bolt from the bottom. Both nut and bolt are 14mm. There is so little room to hold the nut on top, a thin open ended wrench is critical here. And even then, I am only able to hold it by the corners of the wrench.
- Once all three bolts are in place on the anti-rotation assembly you can tighten everything up. The inner two bolts 15mm. I use a ratchet with 15mm socket on the bottom and a 15mm offset wrench on the top. I don’t know the torque spec – I just go nice and tight… but not too tight.
- Next reinstall the drive boot protector using the two T-25 bolts and 8mm nuts.
- The procedure is the same for the other front track.
Rear Tracks:
- Similarly for the rear tracks, first start by breaking the lug nuts free while the wheels are still on the ground.
- Then lift up the rear end. Here again, I prefer lifting from the center to make more room for the install.
- wrestle the rear track into position. I find it best to get the track mounted on the hub, but not to place the lug nuts yet, as this provides more flexibility for pulliing the anti-rotation arm into position.
- The ball joint on the anti-rotation arm gets placed the bracket on the bottom of the rear control arm. The nut and bolt are both 18mm.
- Once that’s done I go ahead and install the lug nuts.
- The process is the same on the other side.
- Once all four tracks are in place, lower the vehicle back down and tighten all the lug nuts up.
That covers it.

Final Checks and Conclusions
Once everything is installed its time to go for a ride. I recommend checking the tightness of all bolts after 20 minutes of riding around just to make sure things haven’t shifted around or loosened up as they settled in.
That’s it. The Can-Am defender now has tracks and is an unstoppable UTV!!

Hi I just put on set of the Apache 360 on can am defender. Had issues with the mounting plates on the top of the rear A arms getting loose and falling off so basically the bottom plate was just hanging by the two bolts under the hub. And other bolts got loose on other side of the top mounting plate and seems like the left front was getting loose like working out of the nut! All bolts were tight and torqued not sure why this happened.
Yikes. That’s scary. I always just use antisieze on the bolts to get them off in the spring, never lock tight. But maybe that’s an option for you? But then.. You have to be able to get them off again, so probably wouldn’t go any higher than purple.