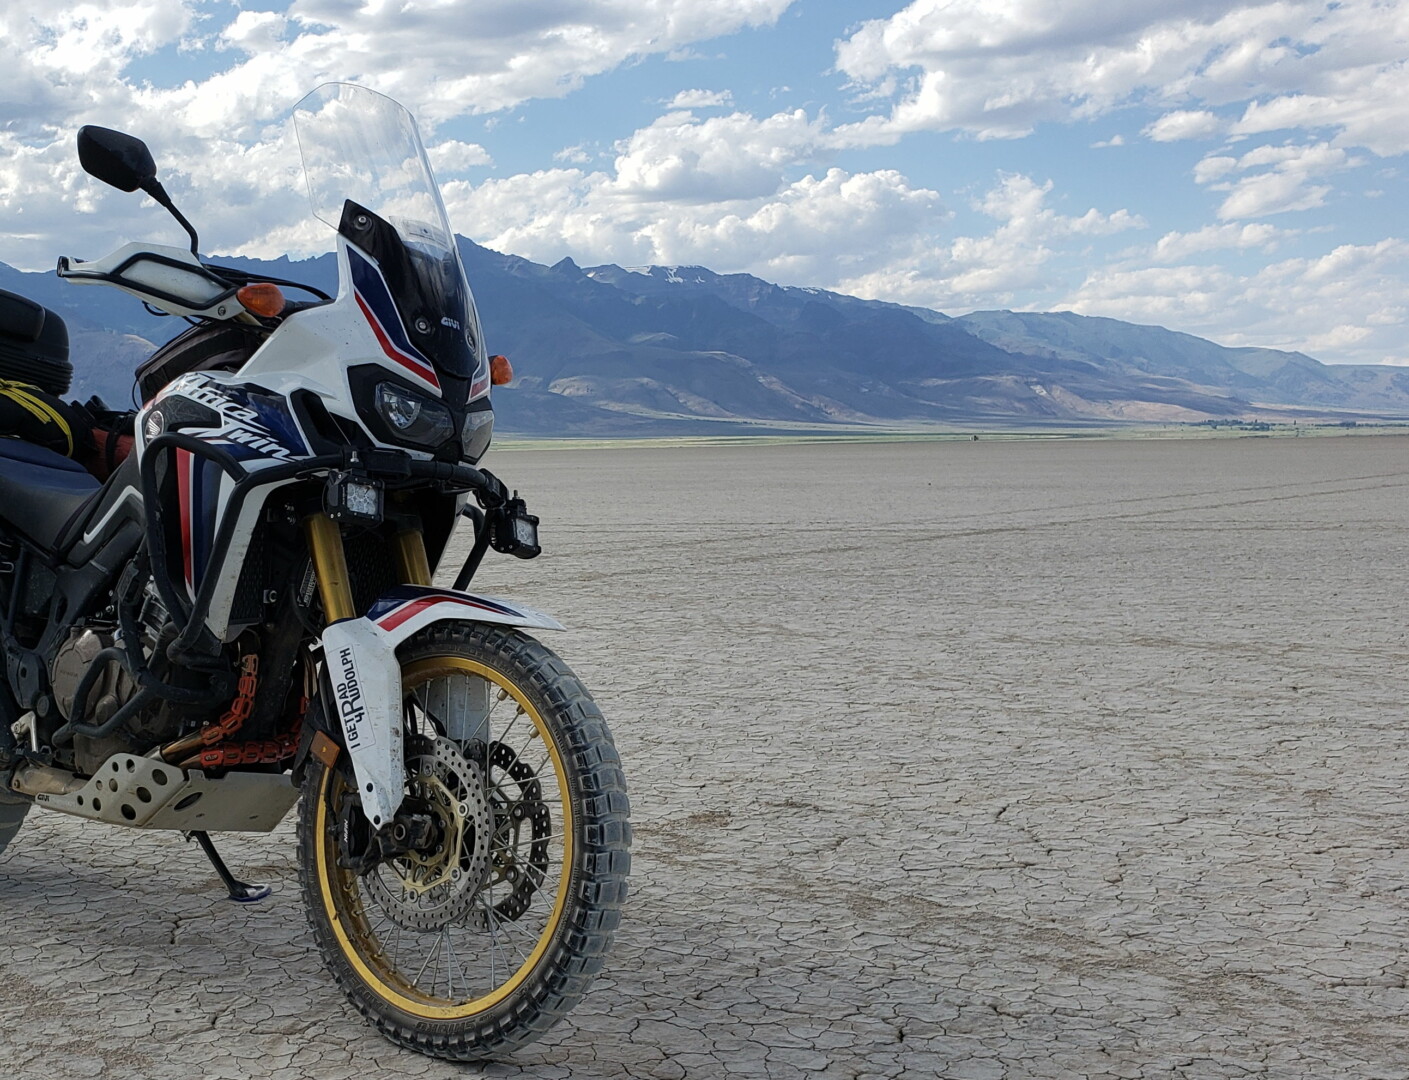
Accessory Power and Lighting for the Honda Africa Twin | Part 2
In part one of this series, we focused in the fairly straightforward task of wiring for 12V accessories on the Honda Africa Twin motorcycle. This is a fairly straightforward task, especially if using the kit from eastern beaver. In this next part, we’re taking a little deeper dive into how the kit works – and how, if we wanted, we could do it DIY. While this article focuses on wiring for the Africa Twin, it’s really applicable to wiring accessories for any motorcycle.
Basic Accessory Wiring Theory with a Relay

I’ve placed a basic wiring diagram at right. This is a bit simplified, but shows the motorcycle ignition “key” as a simple switch. A switch, that when flipped (key turned) provides power to a relay. And the relay then provides power to a fuse block, lights, other accessories etc.
While this is a simple explanation for a lot of complexity, it can be relied upon for wiring up the motorcycle. There are several wiring locations on a stock motorcycle that provide an ‘on’ signal wire when the key is turned. That is, provide 12V power only when the key is in the on position. However, even though it can be tempting to power your 12V accessories and lights directly from these wires, it is not a good thing to do in practice.

This is because the factory wires are very thin and not designed to take much current. Furthermore, these wires might share connections with other critical bike systems – so you dont want to risk blowing a fuse or causing issues to important other bike features. So the best thing to do is use the existing 12V key switched wires to provide a signal to a relay, and have the relay be the main “switch” between your bikes battery and your powered accessories.
If you really want to dig into how a relay works, there are plenty of resources on the internet. Suffice to say, the relay takes a “signal” from one circuit and uses that signal to activate another circuit. In the case of our motorcycle wiring, we are taking the signal from an existing “key activated” circuit and transferring it to our direct battery connection12V accessory circuit


A basic relay takes 4 connections. [1] Signal (to trigger the relay) [2] Ground [3] Power Source [4] Output (destination). There are several types of relays, but I prefer the micro relays from CycleTerminal.com. They are small, sealed waterproof, easy to wire up, and effective.
Where to Connect for Motorcycle Accessory Power

Green = Ground
Red with white stripe = Always on 12V
Red with yellow stripe = Switched 12V (from key)

You can get these at cycleterminal.com
On the Africa Twin, there are Sumitomo HM 090 sealed connectors made just for this in two locations. One is located under the pillion seat and the other is located in front of the instrument cluster up by the headlight. In the previous post, we made use of the OEM accessory socket under the pillion seat to connect the eastern beaver 3CS kit. But we could have wired up our own connection, if desired. Furthermore, even if no accessory socket had been provided we could have used an existing connection, say to the tail lights, or license plate late, as a ‘key switched’ 12V connection.
The accessory connector underneath the pillion seat on the Africa Twin is a 6-pin Sumitomo HM 090. The accessory connector near the headlight (in front of the instrument cluster) is a 4-pin Sumitomo HM 090. Same connector, but different number of pins.

Green = Ground
Red with yellow stripe = switched power
Light Blue = Hi-Beam On 12V
Blue with black stripe: Fog light indicator on dash
Interestingly enough, there are actually more wires included in the OEM 4-pin connector near the headlight than there are for the 6-pin connector underneath the seat. Clearly the under-seat accessory plug is just for general accessories where as the one up front is for lighting too.
If your motorcycle doesn’t have an auxiliary connection plug, you can tap into wires using a posi-tap or similar wire tapping device. Some people hate posi-taps, but I have had good luck with them. They are bettter than other tapping devices, but if you are worried about it, peeling back a little bit of the insulation and splicing is always a better way to go.
What You Need Add Accessory Power to Your Motorcycle DIY
As I said before, the Eastern Beaver kit that I recommended in the previous post for the Africa Twin really does make things easy for wiring up accessories. But if you are on a tight budget and insist on doing it yourself, here are the materials that you will need:
- Wire (multiple colors is best) – 14 ga to 16 ga
- Battery terminals (6mm)
- Inline fuse
- Fuse block
- Relay (I prefer the panasonic micro relays)
- Sumitomo HM 090 Connector
- Waterproof connectors


For wiring up the micro relay, you can use the underseat 6-pin connector, or the 4-pin connector up by the headlight. Either way it’s the red wire with yellow stripe. Alternatively you can grab power from the tailight wiring near the license plate.
Power the relay direct from the battery, with a fuse in-between. The output from the relay should go to the fuse block. Waterproof connectors to the other side of the fuse block. And everything should be grounded again back to the battery.
Ultimately, the setup will look something like this:
Conclusions
After you’ve bought all that, you can say why I am a fan of a pre-packaged solution. However, I think understanding how it all works is beneficial. Especially as we get into more advanced wiring for auxiliary lights, linked to the high-beam switch, in part 3.


Hey, I enjoyed reading your article. I was wondering if you knew what is the max watts/amps that the Africa twin can put out for accessory lights. I have a 2019 adventure spot. Thanks!
It would say in your manual, but I believe the stator puts out about 400+ watts. Figure 200 watts for existing / OEM equipment. So that leaves roughly 200 watts to play with.
I’ve never had a problem running lights, heated grips, heated jacket, USB charger, etc. so your probably good and don’t need to over think it. Unless you’re looking to run an air conditioner… Then you might need to do some better math.