Cush Core Review and Installation Tips
Mountain bike tire inserts have been gaining traction (see what I did there?) in the mountain biking industry recently. Being somewhat old-school, I hadn’t even been running tubeless tires yet (I know, I know). Early adopters of tubeless seemed to have lots of problems with them. I remember quite a few rides, several years ago where so-and-so had switched to tubeless, then the tire burped, or the bead broke, or something and they couldn’t get it reinflated and had to walk out. You know, the usual concerning stories. So it just never seemed that appealing to me – why do something new with small benefits and huge downsides? But with the advent of tire inserts, I figured it was time to give in to the tubeless revolution. I chose to install Cush Core tire inserts The biggest selling points to me were:
- Ability to run lower PSI to improve traction
- Reduced fear of losing bead or “burping” the air out
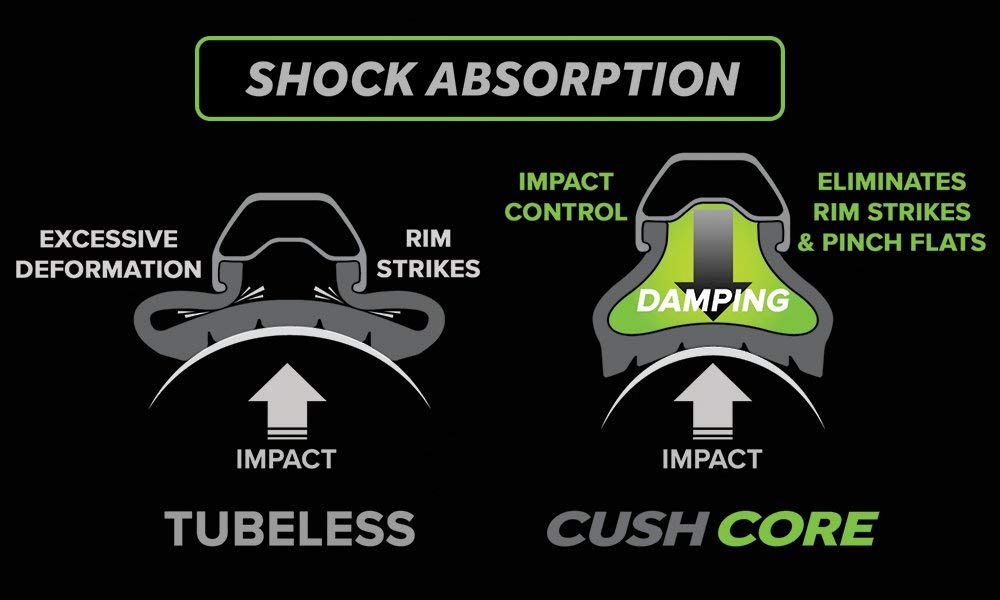
- Impact protection / shock absorption
- “Run flat” capability (not ideal, but doable in a pinch)
Yes, there are a few of these inserts on the market, but I chose the Cush Core system for the following reasons:
- Cush Core’s are stout and substantial – yeah they may weight a tiny bit more than the Huck Norris or Flat Tire Defender offerings, but they offer so much more, with an adjustable air space, puncture protection, and stability improvements.
- I didn’t trust that the little piece of foam that is the Huck Norris was really doing much. Sure it’s half the weight of the Cush Core, but is it really doing anything?
- The Flat Tire Defender appears to be a little more substantial than the Huck Norris insert, but doesn’t have the ideal shape of the Cush Core. Sure, if weight wins, then the Flat Tire Defender is great (it is heavier than Cush Core by a dozen grams or so). But given they are essentially the same price – I went for the better design of the Cush Core.
- Cush Core is a ‘Local’ Bend company. And I am all about buying local. 🙂
As many have said before, installation of the Cush Core inserts is a bit tricky. But following the online videos really does make a difference. I wont re-hash the complete installation instructions, but here are a few tips that seemed to help me out:

- An extra set of hands is nice, but not mandatory. You can do this by yourself.
- I found that my unmounted winter snow tires made a great workbench for installation, since the rubber wont damage the rim and provides a very solid surface to push on (better, I think, than the garbage can suggested in the installation video)
- Make sure the tire is pushed to the center of the rim, where you can take advantage of the tire well / drop in the rim. This is critical and might require going around the wheel a couple times rolling and tucking to get it to drop in there. But getting the bead into the tire well makes everything so much easier.
- Lubing the tire bead with soapy water does actually really help.
- The Cush Cores really do take up a lot of air volume. I was surprised by how little air I needed to put into the tire to bring them up to pressure. Be careful not to over-pressurize when seating!
Out on the trails I have been very happy with the Cush Core. You can really feel the difference! I have been running 20-(ish) PSI, so traction has been excellent. I know I sound like a fanboy, but in this case its true. Cush Core’s are a great product and have made a beneficial difference to the handling of my mountain bike.