NASA Para Wing (NPW9b) Construction
I have been talking about building big kites for a long time. Ever since I started snow kiting in 2003. Well I finally committed to buying the materials and set off on this adventure a couple of weeks ago. Overall this project was not nearly as difficult as I thought it was going to be. That is not to say that everything came together perfectly, but overall it was a fairly painless and quite successful project.
I did a ton of research before committing to the kite build. This included scouring the web for information on materials, designs, and construction techniques. Rather than rehash every specific detail of the construction process, I will share some of my personal experience, caveats, and recommendations as well as point you toward the two main sites I used to guide my way.
Head to the following website and download the visual basic program that gives you all the rest of the instructions as well as performs the calculations neccessary for construction of a Nasa Para wing to fit your needs.

http://members.shaw.ca/kiteman/Downloads.htm
Yes there are lots of websites and various plan sets, but I think the NPW9b program you can get from the above site is the best. It gives the most detailed instructions and makes the most sense to operate.
I followed the instructions pretty closely except where I could augment them using Andrew Maclean’s special kite building instructions. Andrew Maclean is kind of a pioneer of expedition kite skiing using the Nasa Para Wing kites as he used them on a Baffin Island expedition in 2002. As such I trust his judgement when it comes to the recommended improvements on this kite. However, it is important to note that Andrew’s instructions utilize the NPW5 kite design, which is quite a bit different body than the 9b. His instructions also uses the classic bridle which uses about 30% more bridle line than the cascade bridle. Those differences aside, I really liked his methods for attaching body panels together and incorporating specific webbing tie in points for the bridle attachment. Not only do you get a stronger construction that way, but you don’t have to mess with a needle and fids to thread hollow Dacron around the kite. (yes it sounds complicated because it probably is, that is why I didn’t do it)
Finally before we get going let me offer one preliminary caveat. I am not at all an expert on kite building, but I did have a pretty good experience building my first kite. Take everything here with a grain of salt.
Now, onto the actual construction details.

In order to build the NPW9b I used the following materials and equipment:
-> 3/4oz ripstop nylon from kitebuilder.com – Kite Body
-> 150lb Braided Dacron – Bridle Line
-> 1″ x 0.75 oz. Slit Ripstop nylon – for the seams
-> 3/8″ webbing- for the tie in points
-> Heavy polyester thread
-> Regular Sewing Machine
-> Hot Knife (for cutting, not really required, but makes it easier)
Total for materials ran be about $100. This included way more kite line than I needed for one project, so I will realize that discount when I build my next kite.
|
|
|
|


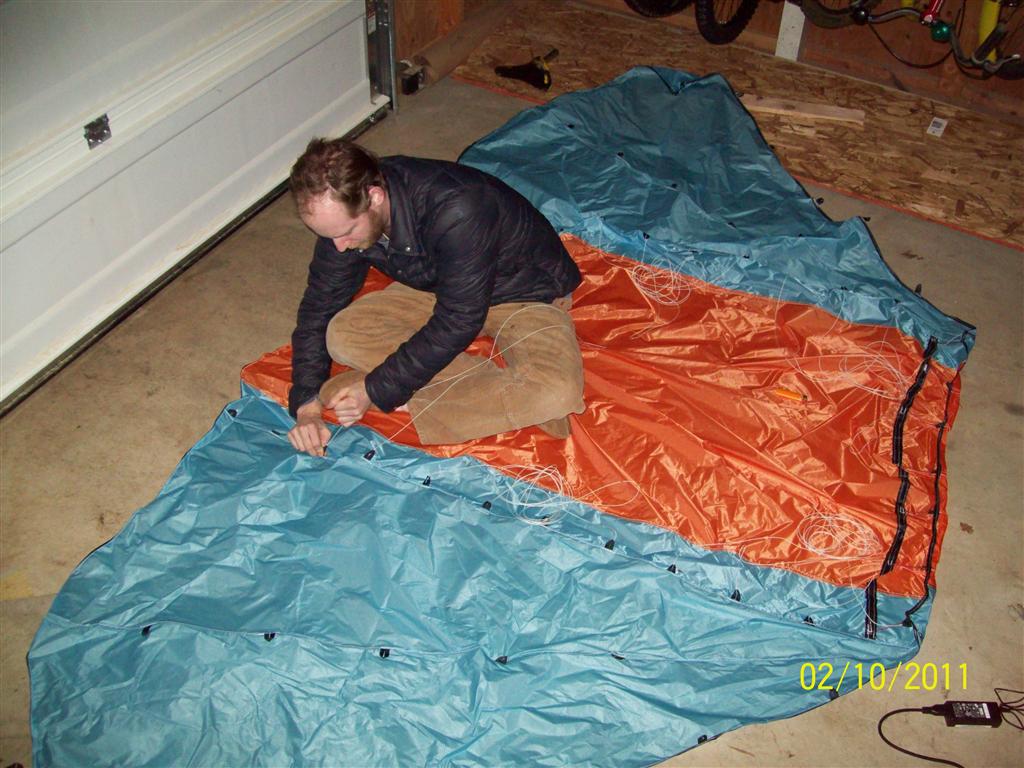
Step 1: Cut the material as per the instructions in the program.
Step 2: Sew the tie in tabs and edge reinforcement for the outside wing panels using the 3/8″ webbingas per the instructions from Andrew Macleans site. Use the 1″ slit nylon folded over twice to reinforce the seams. I taped my webbing tabs onto the kite and pinned the nylon for ease while sewing all the pieces together.
Step 3: Sew the wing panels together using a similar methodology. This time slit nylon on the bottom, then the outer wing, then the ties (stuck to the wing), then the inner wing.
Do steps 2 and 3 for both sides .
Step 4: Build the nose panel. I actually did not use a separate nose panel, so instead I just attached the nose ties directly to a piece of slit ripstop nylon and sewed this directly to the center body panel. I used short pieces of cord for the nose ties. These were pretty effective for me, but using shoe lace or flat webbing may be better for some. But keep in mind you want to keep wind resistance in the nose to a minimum.
Step 5: Sew the wings to the body. Just like what was done in step 3. slit nylon, then wing, then ties, then body.
|
|
|
|


Step 6: Sew in the darts at the nose.
Step 7: Reinforce the outside edges of the body with slit nylon using the double roll technique.
And thats the kite itself… done!

I found bridling to be much more complicated than building the kite body. However, once you have properly built your bridle board. It does go together pretty fast. That being said, BUILD A BRIDLE BOARD. I tried to avoid this step and it just screwed my up.
|
|
|
|


I pretty much followed the instructions exactly for building the bridle board. I did make some allowances here and there. Because I was using a slip knot for my tie in points I did not need all that extra line for weaving it in and out of itself. Instead I only left a centimeter for my knots. In retrospect I probably could have left a little more (2cm would have been more than enough) for tying the slip knots. But it still worked out okay.

Next its time for some real knot tying. Lots of it.
|
|
|
|
Step 1: Cut the material as per the instructions in the program.
Step 2: Sew the tie in tabs and edge reinforcement for the outside wing panels using the 3/8″ webbingas per the instructions from Andrew Macleans site. Use the 1″ slit nylon folded over twice to reinforce the seams. I taped my webbing tabs onto the kite and pinned the nylon for ease while sewing all the pieces together.
Step 3: Sew the wing panels together using a similar methodology. This time slit nylon on the bottom, then the outer wing, then the ties (stuck to the wing), then the inner wing.
Do steps 2 and 3 for both sides .
Step 4: Build the nose panel. I actually did not use a separate nose panel, so instead I just attached the nose ties directly to a piece of slit ripstop nylon and sewed this directly to the center body panel. I used short pieces of cord for the nose ties. These were pretty effective for me, but using shoe lace or flat webbing may be better for some. But keep in mind you want to keep wind resistance in the nose to a minimum.
Step 5: Sew the wings to the body. Just like what was done in step 3. slit nylon, then wing, then ties, then body.
|
|
|
|
Step 6: Sew in the darts at the nose.
Step 7: Reinforce the outside edges of the body with slit nylon using the double roll technique.
And thats the kite itself… done!
I found bridling to be much more complicated than building the kite body. However, once you have properly built your bridle board. It does go together pretty fast. That being said, BUILD A BRIDLE BOARD. I tried to avoid this step and it just screwed my up.
|
|
|
|


Once the bridle is attached its time to attach the flying lines and wait for the wind. Flying lines should be high quality dyneema or spectra line. These can be pretty expensive. (about $70) Though I set up the kite for initial flying in 2-line mode I am told that these NPW kites fly a lot better in 4-line mode. And its true I did have to do quite a bit of fiddling with the brake lines to make the kite fly. This fiddling included added about a 10-cm extension to just the brake lines so that I could make adjustments to their length fairly easily. This was effective in making a successful test flight but in the future I think I will definitely be making some flying handles so it is much easier to fly in four line mode.
 |
 |
 |
Hy, cool nasa para wing, can you please help me with some questions?
Regards Marcel
Yes! Feel free to ask questions here.
Can you help me with sewing kites?
Just need help with something how do you sew the loops for the bridle on strong?
I just sewed them into the seams like everything else, rolled in with the ripstop and then the nylon loops for the bridle. You can see how its done in my pictures. Also there are some great instructions and better pictures of the “rolled seam” process on straightchuter.
Myself and another YouTube user named Randyfromatlanta have been experimenting with very simple (16 leg bridle or less) single skin soft kites. I made a video here that shows three progressive designs starting with the simplest and least efficient (4 line playsail) to the more complex Strata Bache (8 leg) and moco (16 leg) http://www.youtube.com/watch?v=vMYO6t0VsuM
Convairseadart >> Thanks for posting. Looks like a really cool project you have going there! I’ll be sure to stay tuned to that youtube channel. -A