Sprinter Adventure Van: External Engine Oil Heater Installation
With cold winter temperatures back in the pacific northwest, I was reminded to start using my engine oil heater again. Some research shows that there isn’t really much benefit until around -15oC (5oF) , and even less benefit when you use synthetic oil (which the Sprinter does) – but I like the peace of mind when it gets to be anywhere below freezing. And I do feel like the sprinter starts up and idles easier after its been plugged in for a few hours. So rather than get into a debate about whether or not and when to use an oil heating pad – I’ll just launch into the install (which I performed last year – just never got around to writing about it).
Materials needed:
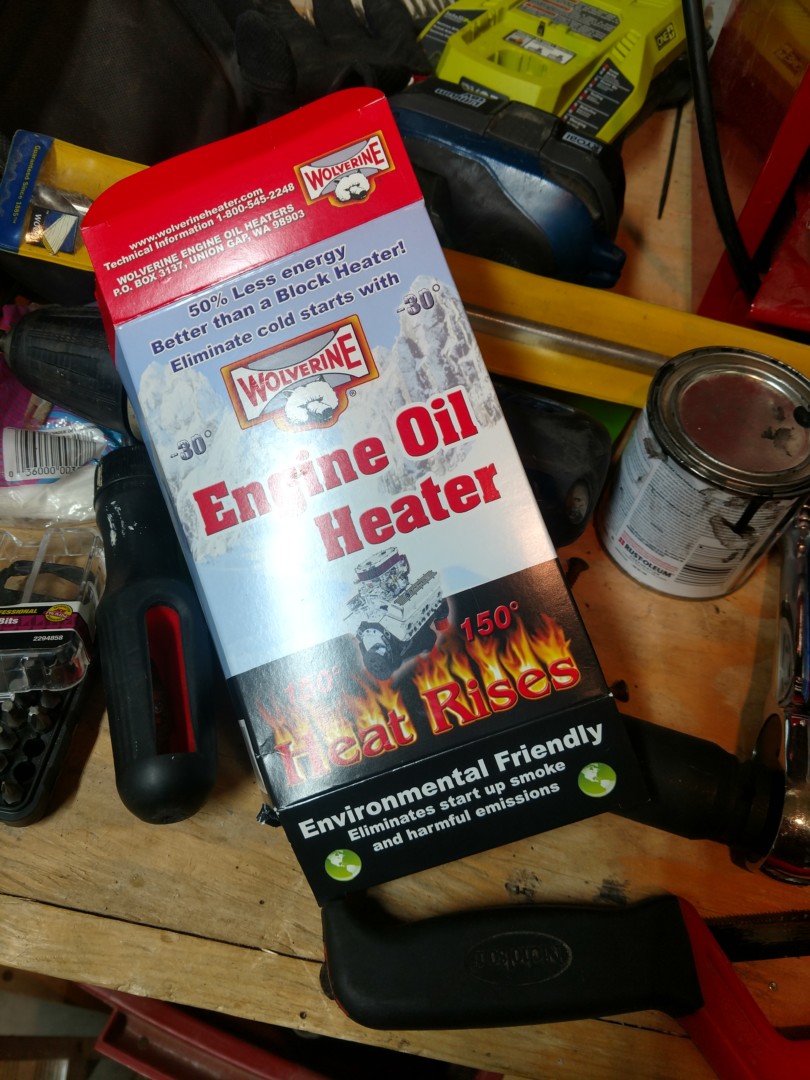
- Engine Oil Heater kit – I used the 250W Wolverine Model 16, I’m sure others are available. Wolverine even has a special page for sprinter vans.
- The kit I used came with zip-ties, high-temperature silicone sealer, and a little plastic scraper to help apply the sticky heating pad.
- A 3-prong plug adapter or other plug cover, to protect the plug end on the vehicle
- Sandpaper to roughen the application surface
Tools:
- A flashlight is helpful, to see under the van
Installation:
Installation was very easy, I mostly just followed the instructions here. Especially in the four wheel drive van, the clearance under the vehicle is quite substantial, so getting under the vehicle is pretty easy and comfortable.
The oil reservoir sits underneath the engine, just forward of the front axle. For the best adhesion, make sure its clean and dry:

- First I scrubbed the surface with simple green
- Then I roughing up the surface (lightly) with some 120 grit sandpaper
- Finally, I used a little bit of carb cleaner I had around the garage to thoroughly clean and dry the surface – I imagine any acetone type solvent would be just fine.
Wolverine also recommends that the mounting surface is warm and that the heater itself be warmed up before mounting. That’s easily done by letting the van run and warm up a little bit – but not so warm that you burn yourself during the application. And plugging in the heater itself for a few seconds is enough to get the pad warm.
Once the prep was done, applying the heating pad was easy – just pulled off the adhesive cover and stuck it on to the surface I had just prepped. I used the plastic scraper to get it firmly applied to the oil reservoir.
I was a bit nervous about applying the high temperature silicone sealer (I am terrible at painting or caulking or anything like that) but it worked out. I put a bead of the blue stuff around the outer edge of the heating pad as instructed. Not going to win any beauty contests – but its under the van and gets the job done, so no worries there.
The cord length from the heating pad is just about perfect length to get from the oil reservoir up through the front frill of the van. I used the zip ties provided and a couple more to route the cable up, through the plastic front grill and onto the little ledge just above the license plate holder.

Oil reservoir located just forward of the front axle 
This photo taken after a year – still looks just fine 
Not the prettiest sealant job, but it works. 


the length of the plug works, just barely.

That pretty much covers the entire installation. To protect the plug end on the vehicle, I just use a 3-prong to 2-prong plug adapter that I already had sitting around the house. However, commercial solutions are available, if you want to go that route.
For operations, I went pretty fancy and set up a Smartthings routine to activate a IoT enabled smart outlet. This is automatically activated from my android smartphone any time the temperature gets below freezing (effective, provided I actually remember to plug the thing in). But that’s a post for another time – if folks are interested.

Automated routine utilizing Smartthings, Tasker, and the SharpTools plugin 
A smartthings enabled IoT connected plug is required – although a similar routine could be written for Alexa or Google


